
There are several methods to dyeing a disc golf disc, and the art of dyeing has been around for years. If you have a thing for custom discs, then dyeing them on your own according to your taste can help you achieve your desired result.
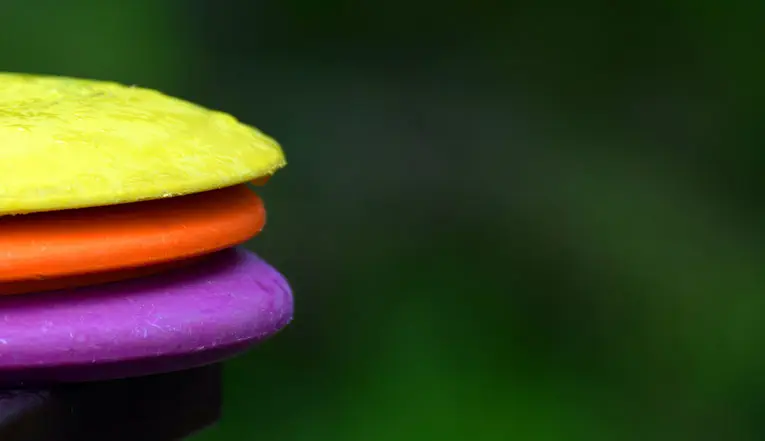
When it comes to disc dyeing, you have plenty of options – you can dye your disc using only one color, or you can dye your disc using multiple colors.
If you want to put your own design on your favorite golf disc, here is our tutorial on how to dye disc golf discs like a pro.
About the Tutorial
In this article, we will be discussing the two prominent methods of disc golf dyeing:
- Stencil
- Shaving Cream
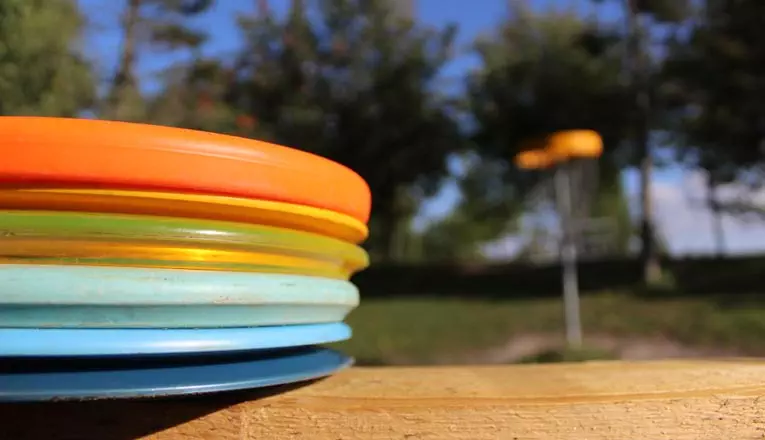
Both the methods can be done independently and combinedly, it is your choice. Remember one thing, cheap plastic discs won’t dye as you wish, you will need a high-quality disc (opaque or transparent) such as a Gold Line, Star, Opto Line, or Champion.
We recommend avoiding DX style plastics.
The shaving cream dyeing method doesn’t produce top-quality results, especially when you using a transparent disc. It is better to use an opaque disc for shaving cream dyeing.
What You Will Need
For Shaving Cream Dyeing
- iDye Poly: ensure that you have a high-quality poly that is designed to soak into plastics. You can find it at your local art and craft store or online as well
- A mixing bowl
- A plate big enough to contain the whole golf disc
- Cups
- Shaving cream: shaving cream is used as it helps holding the dye in position while it is soaking into the golf disc
- Skewers: anything long and pointed can be used here. Skewers are best as they can be used for mixing the shaving cream and outlining designs
- A syringe and a ruler
- Toilet paper or coarse cloth
For Stencil Dyeingc
- Vinyl paper: we recommend using Oracal 651; however, if you are getting started with disc dyeing, you can go with Oracal 631, as it is thicker and lenient on mistakes. It can be easily availed from a sign shop
- Acetone for removing the stamps and prints off of the stock golf disc. It is advised to use acetone in a well-ventilated area
- iDye Poly
- X-Acto knife with extra blades. An X-Acto knife will be used to snap the tip of the vinyl paper
- Needlepoint tweezers for peeling off the vinyl
- Painter’s tape
- A thick paper-like object like a gift card or even a credit card to get rid of air bubbles under the stencil
- An alcohol-based solution to get rid of the gooey (adhesive) residue that’s left behind when you peel off the vinyl paper. You can search your local hardware store for a product called Goo Gone.
- An 8-inch (diameter) cooking pot
Setting up the Dye (Common for both stencil and shaving cream)
The iDye comes in dissolvable packets. Mix 1-liter water with one packet of iDye
Next, add a few drops of liquid dishwash into the mixture. This will help reduce surface tension that ultimately prevents the formation of air bubbles
Choose your preferred golf disc. Pour a few drops of acetone on a coarse cloth and gently smear it all over the stamp. Rub until the stamp comes off. Make sure there is no gooey residue including oil from people’s hands on the disc surface. In the case of shaving cream dyeing, this step is not necessary.
Stencil Dyeing
1. Choosing a Design
You can select any design you prefer. If could be anything from your favorite logo to any symbol, etc. Once you select a design, print out the B&W images of the design.
Next, cut off a 12”x12” piece of vinyl paper
Place the design underneath the vinyl paper and use the painter’s tape to hold them in place
Using an X-Acto knife, slowly start tracing the edges of the design. Apply enough pressure so that it easily pierces the vinyl paper making precision cuts
Once you have outlined the design, you need to take off all the areas (weeded parts) that you want to be dyed. This can be accomplished using needlepoint tweezers
2. Preparing the Stencil
Once your stencil is ready, you need to cover the weeded part using the painter’s tape. This will help the stencil maintain its shape
Flip the stencil upside down, so that its paper side is up. Gently scrub down the back so that the tape determinedly contacts the vinyl
Next, peel the paper while being careful that the shape of the stencil is not compromised
3. Placing the Stencil on the Golf Disc
Put the wipe-cleaned disc on the center of a table
Next, put the stencil over the disc. Center your stencil accordingly. Once it contacts the disc surface, do not try to remove it or re-center it. It will ruin your design, so you have to be careful with that
Slowly press down the stencil on the edges of the disc making sure that it adheres to all of the disc
Wrap the stencil edges tightly around the sides of the disc. Use a hard-edged card like a credit card to rub the places. It will help you avoid air bubbles. The dye can go inside the air bubbles ruining your design
Next, peel off the painter’s tape
Your golf disc is ready for dyeing
4. Dyeing the Golf Disc
Put your prepared iDye poly mixture on a cooktop, and heat it around 60° Celsius. Make sure you don’t heat the mixture in excess as it can deform your golf disc
Slowly immerse the golf disc into the dye mixture
Depending on the type of dye and what color you are using, the process can take anywhere from 5-10 minutes
Shake off any excess dye from the surface and let it sit aside for a couple of hours for the disc to strongly absorb the dye
5. Peeling off the Vinyl
Slowly remove the stencil from the disc surface
Next, rinse the disc under running water. You may also use a scrub to gently rub off the gooey residue left on the surface after removal of the stencil
There will still be some residue left. Use Goo Gone to clear the remaining residue
Your custom golf disc is ready!
Shaving Cream Dyeing
In this method of dyeing, you don’t need to remove the stamp from the disc. But, before you start, make sure that the disc is perfectly clean from any residue.
1. Preparing the Shaving Cream-Dye Mixture:
You are required to prepare two mixtures of different consistencies – a base mixture and a dye mixture.
For the base mixture:
- Take a large mixing bowl and mix water with shaving cream (no quantity set). Prepare a mixture that’s not too watery nor thick
For the dye mixture:
- Take half a cup of shaving cream and add a couple of teaspoons of iDye Poly. You can take multiple cups for multiple colors
- Mix it thoroughly until the dye blends uniformly into the shaving cream
2. Setting up the Plate:
Once your base mixture is ready, gently pour it on a plate to completely fill it. You can use a cardboard flap to evenly spread the mixture over the plate
Scrape off any extra mixture from the top and sides to create a flat surface
Your base is ready
3. Designing:
Take a syringe and fill it with your dye mixture. You can take multiple syringes if you have prepared multiple dye mixtures of different colors
Slowly spread the dye mix over the base mixture in any pattern you like. It can be symbols, logos, or an abstract, whatever you like
Use skewers to make the patterns or design more precise
4. Dyeing
Once you have prepared the design/pattern, slowly put the golf disc on top of it. Gently Push the disc onto the plate
Leave it aside for a couple of hours before you remove it. The longer it stays, the bolder will be the colors
Rinse the disc under running water
Your custom golf disc is ready!
Final Words
The procedures mentioned are relatively easy, fun and, inexpensive. You can create any pattern you like. It will take you a couple of tries to perfect the procedure.
These two methods are the prominent ways to dye your disc golf discs. If you have any doubt about any point that we have mentioned, you can ask us; we are happy to help.

Simple and to the point. When you watch a Youtube video like Discgolf family you see how easy it is, then use the ingredient list you created here. Wise to start with an old unwanted disc first before using your favourite driver!
How do I tell if a disc is dx plastic
DX plastic is the least expensive disc plastic. It is tackier and more pourous than premium disc plastics. If the plastic wears easier it is likely a DX or TPE grade.